The Loco Translate plugin provides in-browser editing of PO files used for localizing WordPress plugins and themes. Free Loco Translate Download
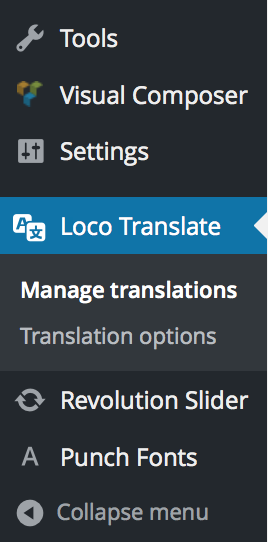
After installing the Loco Translate plugin you should see a new section added to your WP Admin Panel navigation area.

This is a step-by-step guide to translate your Theme with Loco Translate Plugin.
Choosing the Language
-
Step 1: To translate your Theme, select the desired theme from the "Themes" area by clicking on the "New Language" button.
To modify an existing translation click on the link of that specific language.
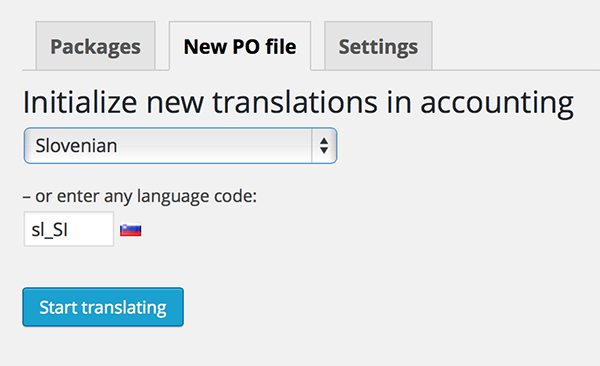
- Step 2: Select a language in which you want to translate your Theme into. You can also specify language by inserting the language code into the text box located below.
-
Step 3: We need to Sync our Theme with Loco Translate.
Click on the "Sync" button to synchronize.
-
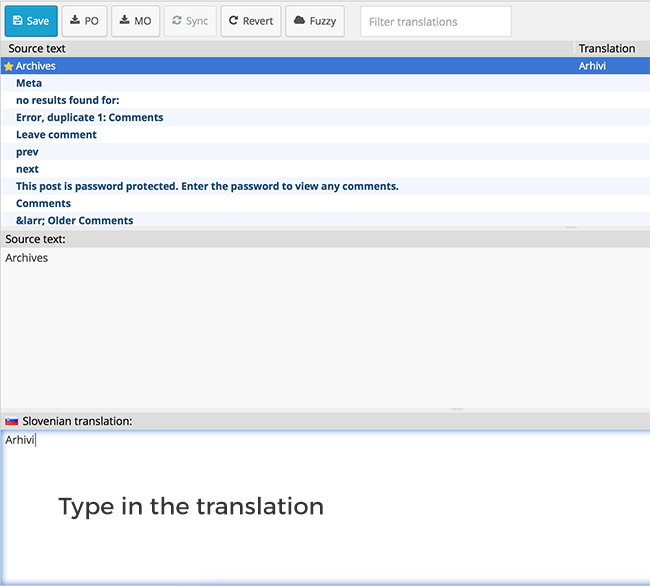
Step 4: Choose the word or a string you would like to translate by clicking on them.
You can also filter the strings by using the "Filter Translation" input box above the "Source Text" area.
- Step 5: Type the translated version of a word or a string inside the "Language Version" area below "Source Text" area.
- Step 6: When finished translating click on the Save button located on top of the "Source Text" area.


Then click Start Translating.
Translating

After clicking on the "Sync" button you will see a wide list of words inside the "Source Text" area.


You can revert the modifications by clicking on the "Revert" button. Note: you can't revert the changes when you have already saved the file.
After clicking the "Save" button your Theme will automatically be updated with the newly added translations.
For more detailed information please refer to the official plugin website
